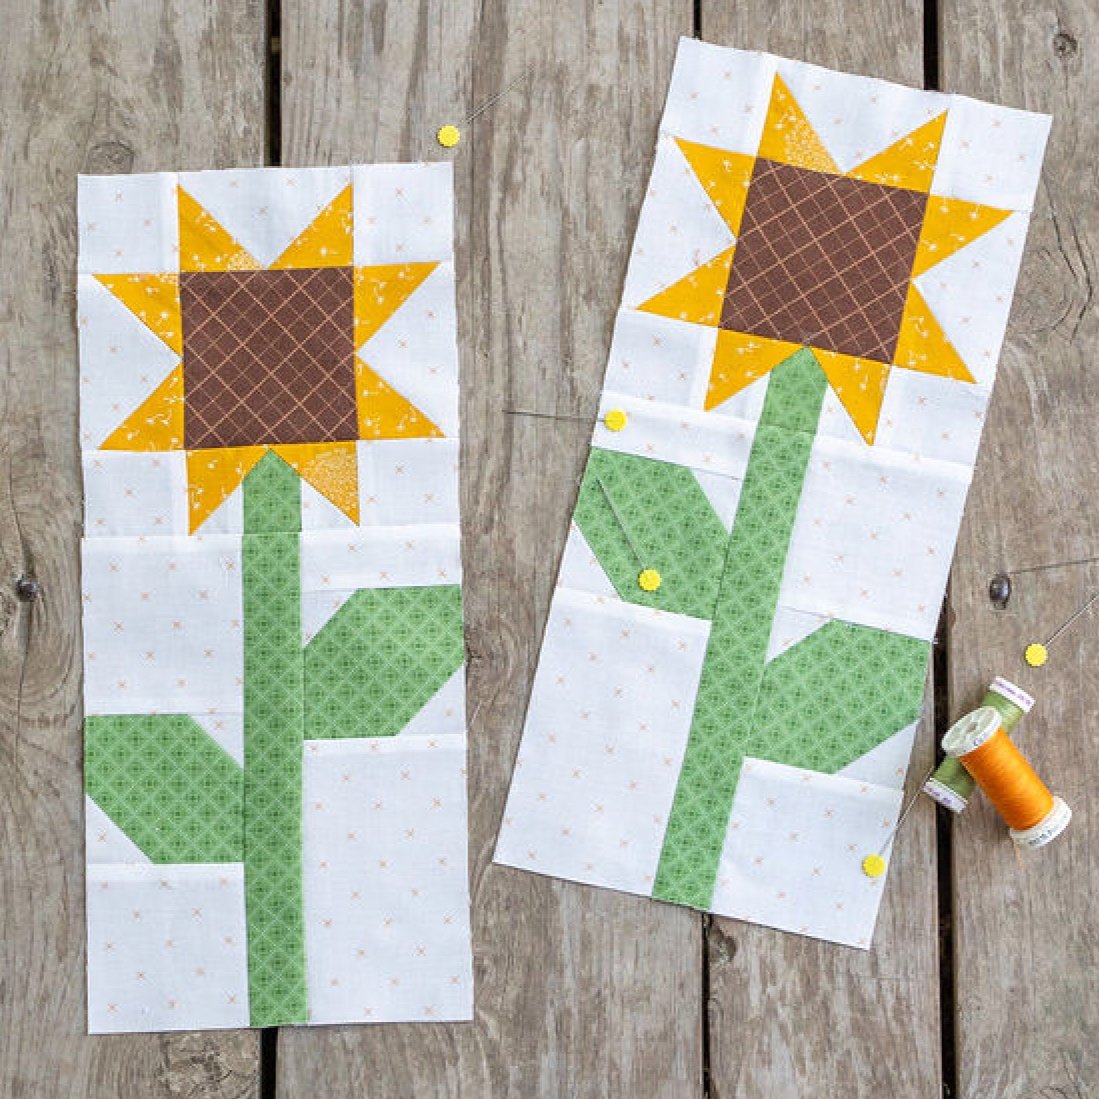
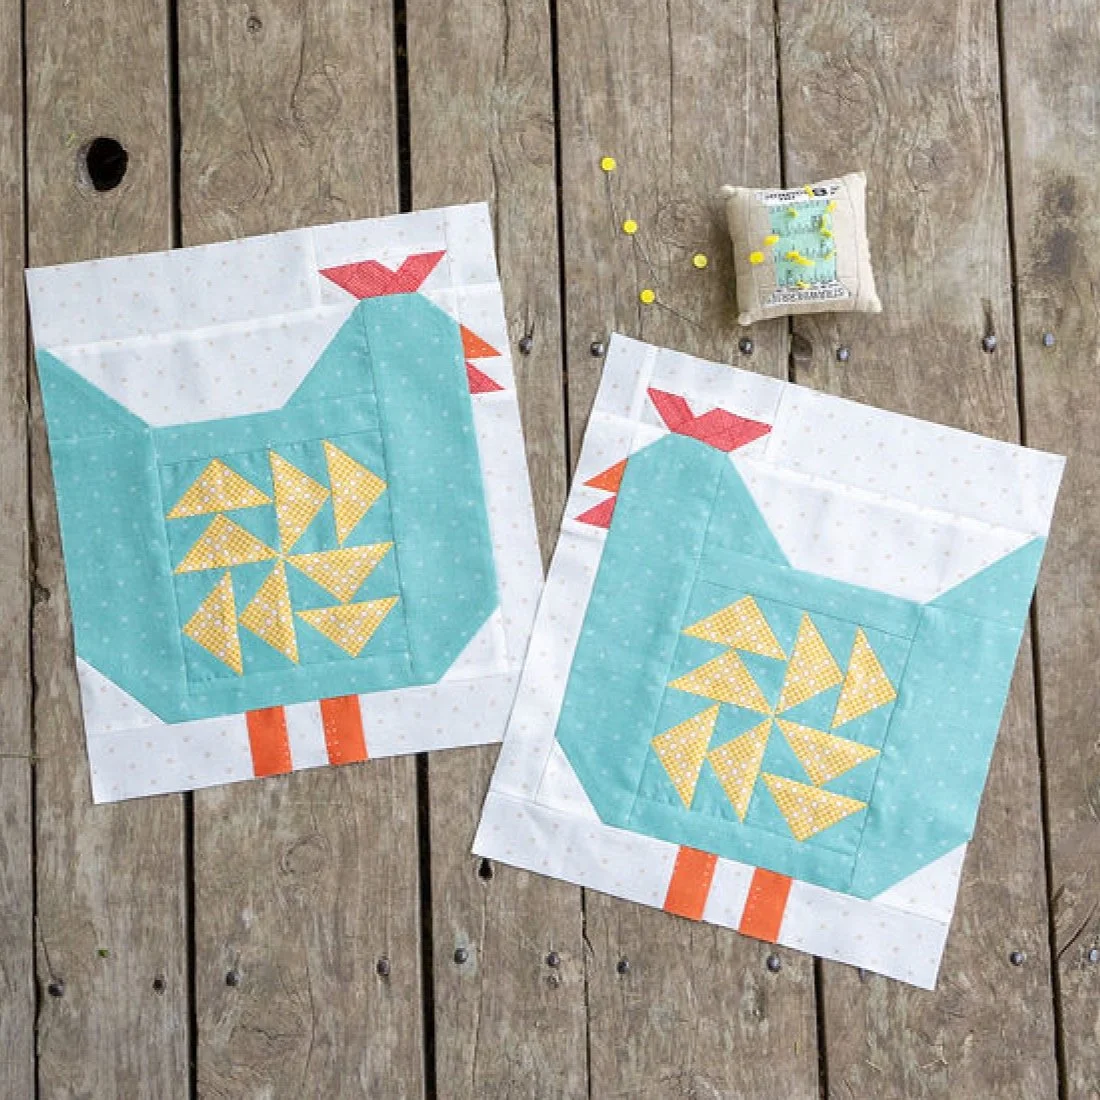
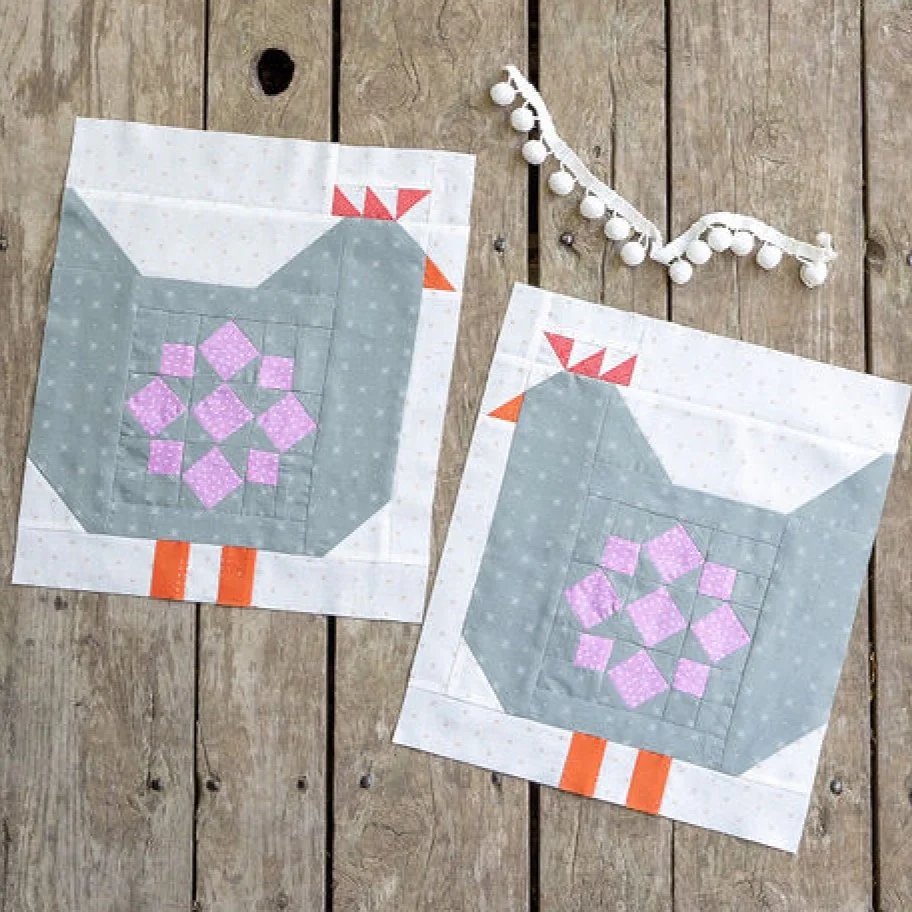
Quilty Chicks BOM: Flower 4 - Sawtooth Star
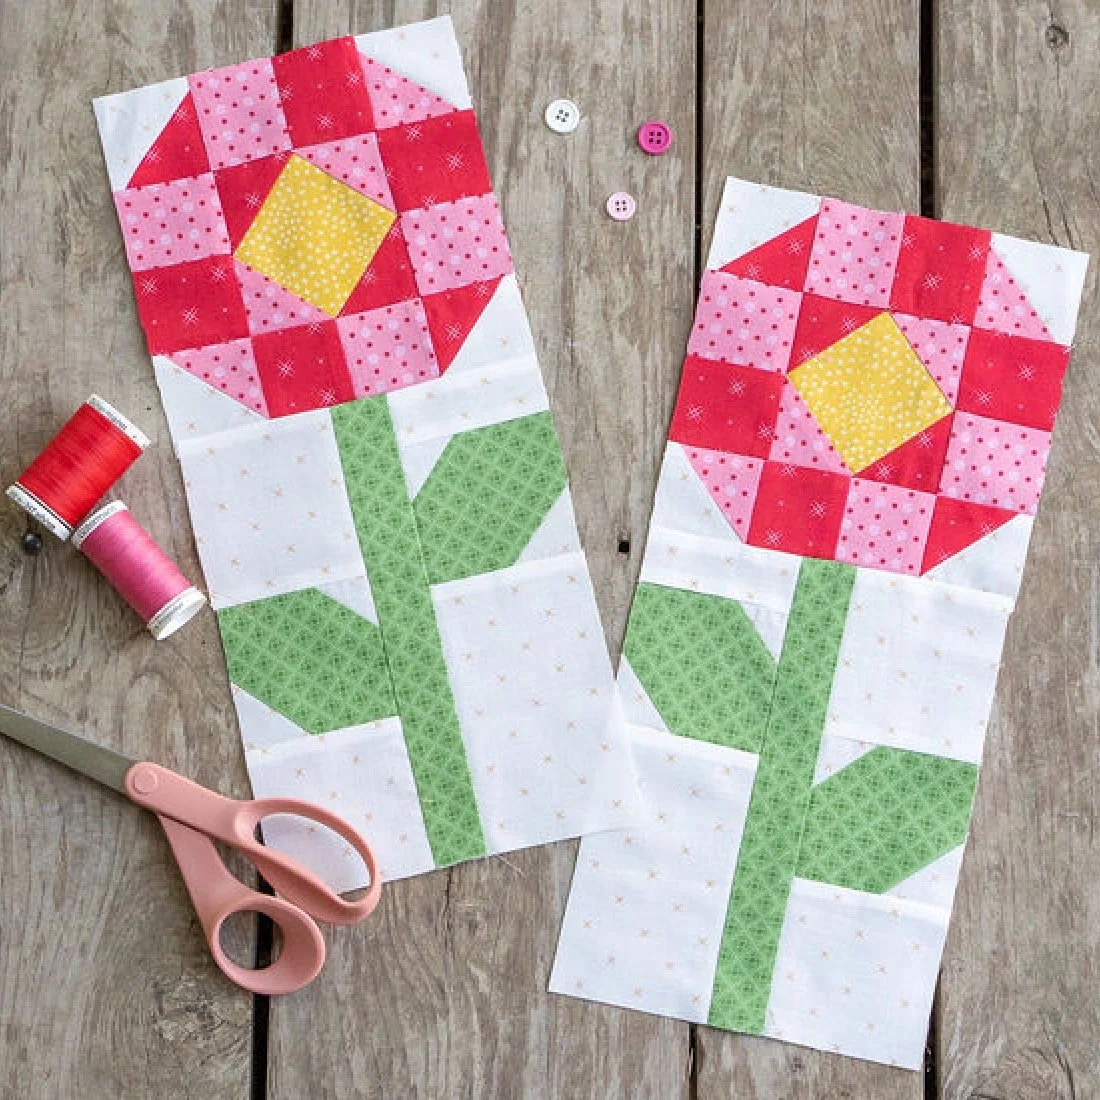
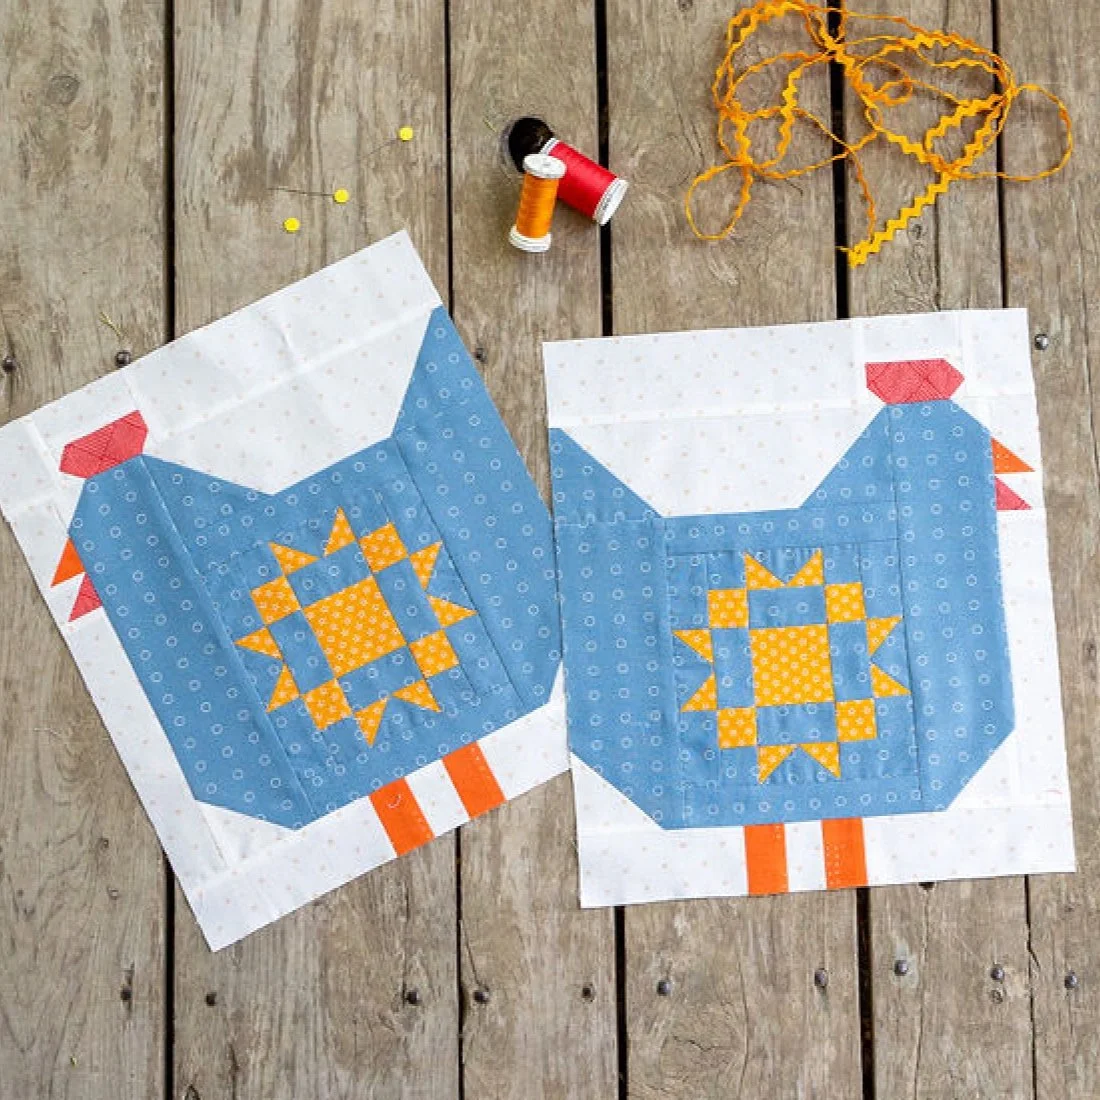
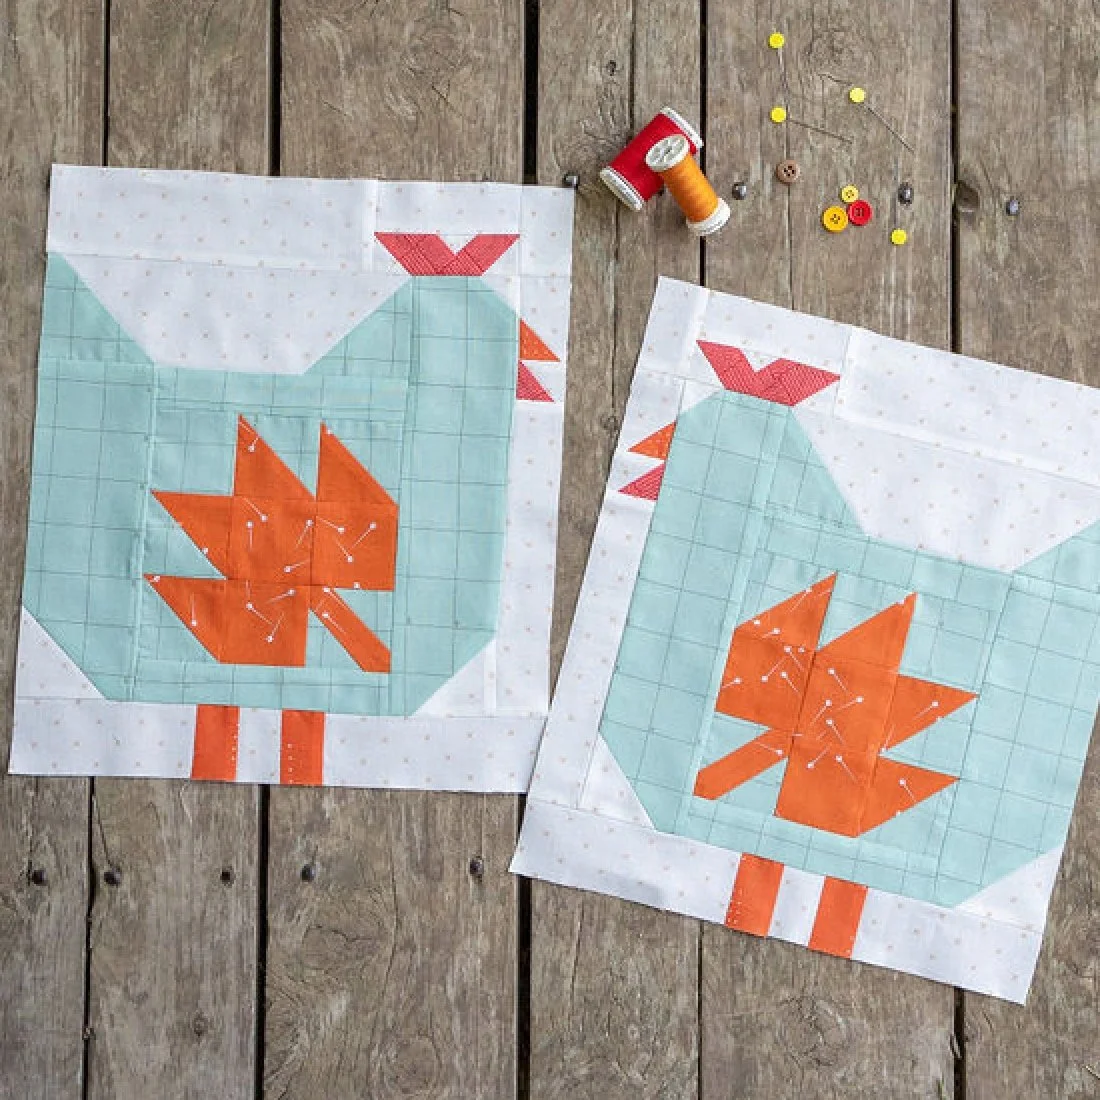
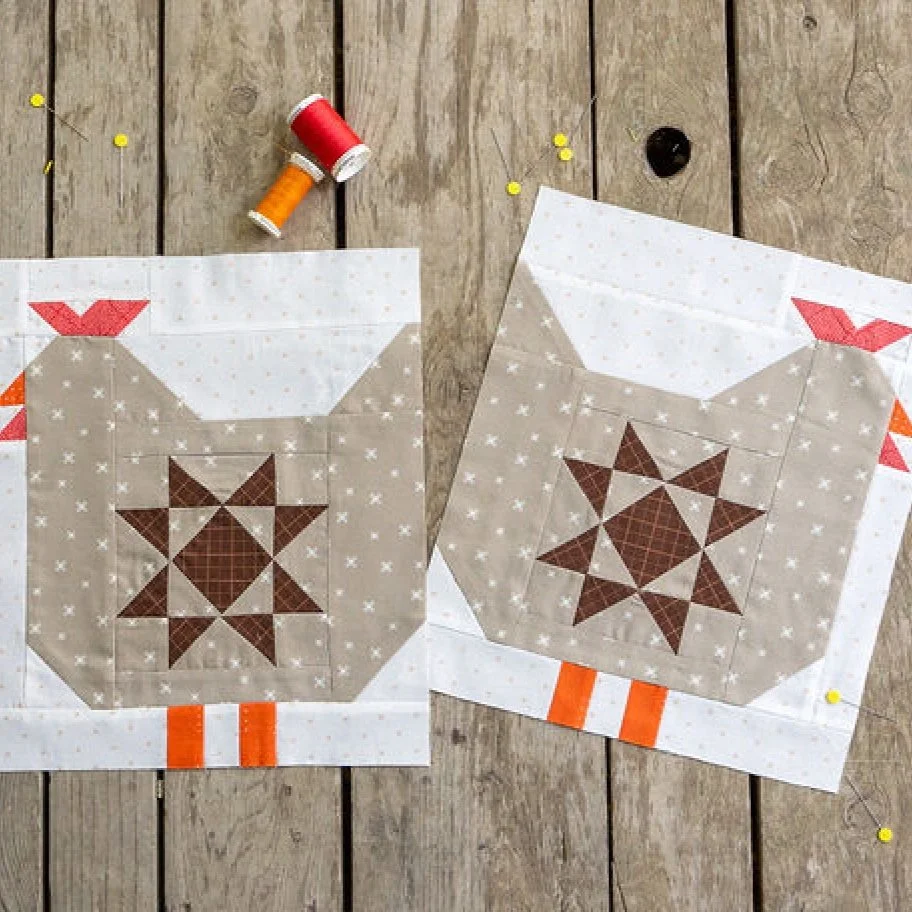
This is the last quilt block in the Quilty Chicks Block of the Month! The Sawtooth Star Flower goes together quickly and easily. Click the button below to watch the video tutorial on YouTube.
Top Tips for Flower 4: Sawtooth Star
Tip 1: Pay attention to the pressing instructions for the stem extension unit in step 1. Pressing toward the background fabric will help the flower head and stem unit to fit together well.
Tip 2: I’m going to be honest, I’m really reaching here for tips because you are all experts at stitch and flip by now. But pay attention to the orientation of the line on the yellow petal squares as you sew them to each side of background and stem extension rectangles. Just sew on the line, trim off the corner, and press toward the yellow triangles.
Tip 3: Once you’ve sewn the yellow squares onto each side of the rectangles, trimmed, and pressed, it is time to sew all the pieces together. After you sew the rows together, press toward the background corner squares and the center brown square. Pressing toward an unpieced unit will keep bulk to a minimum.
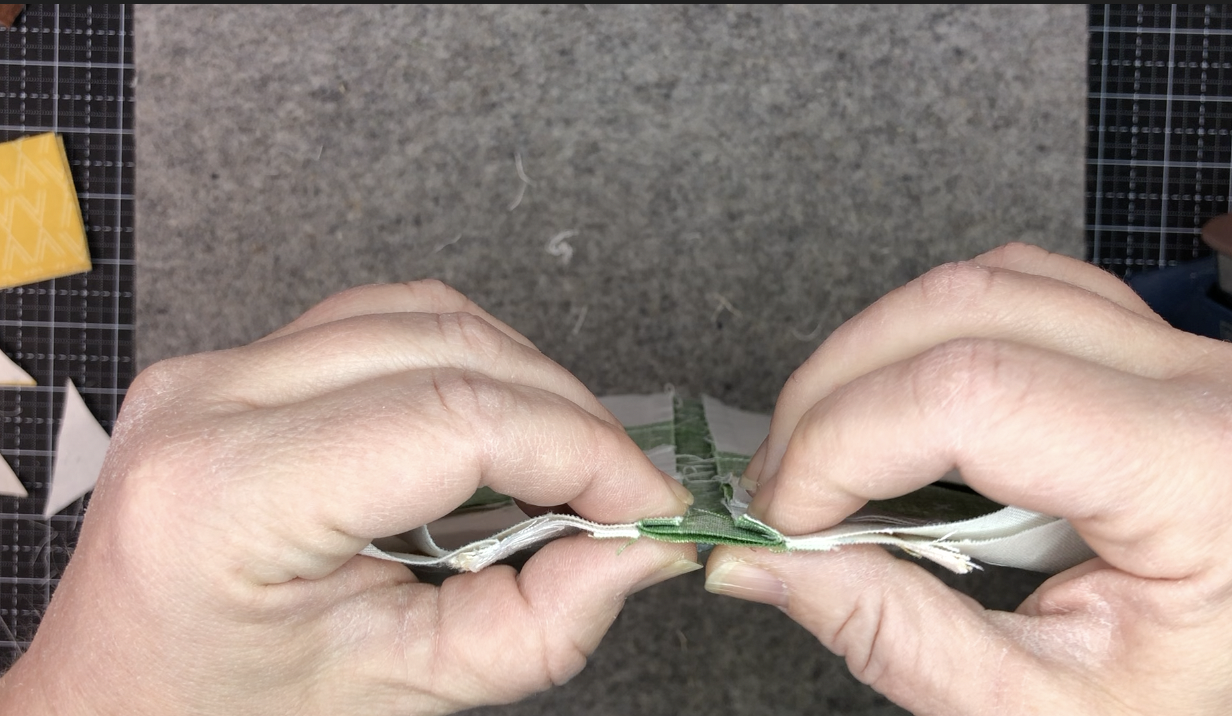
Tip 4: When you attach the flowerhead to the stem unit, make sure the stem and stem extension seams are lined up and nest together. You can pin or baste at the seams and open up the block to check the alignment.
Sew, press and then you are done!
Those are my top tips! If you need step by step instructions, check out my YouTube tutorial.
