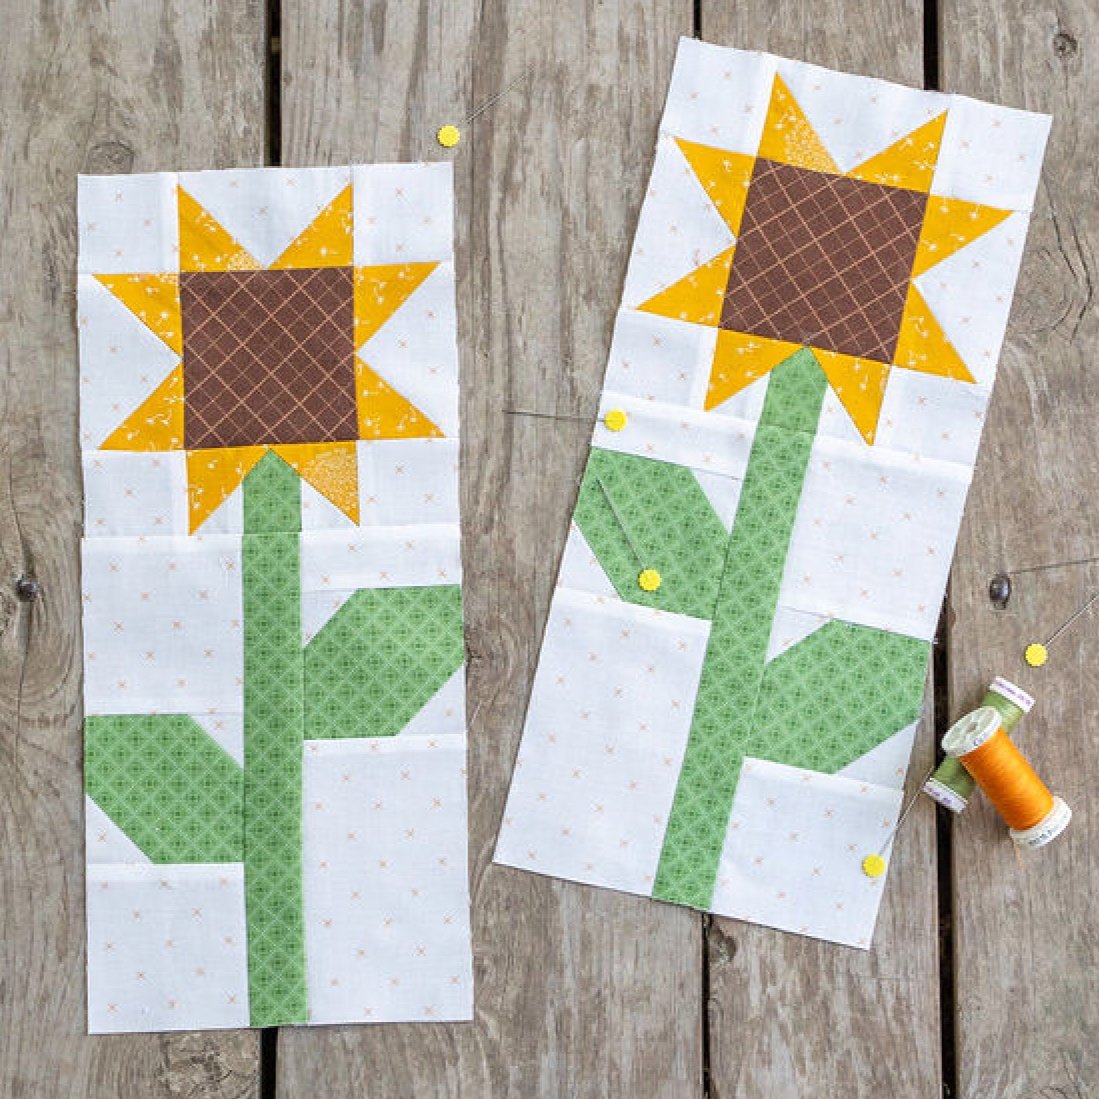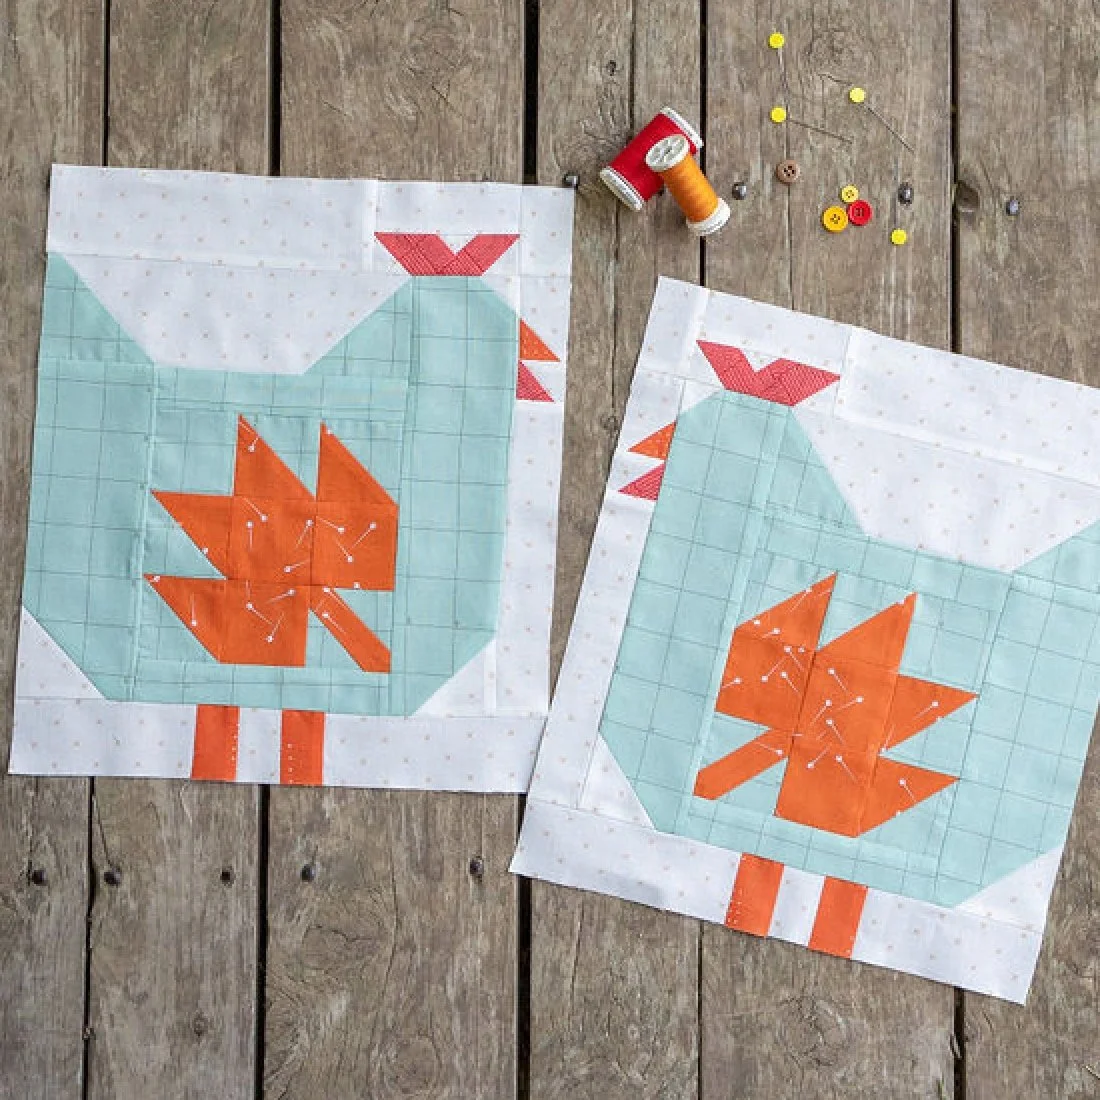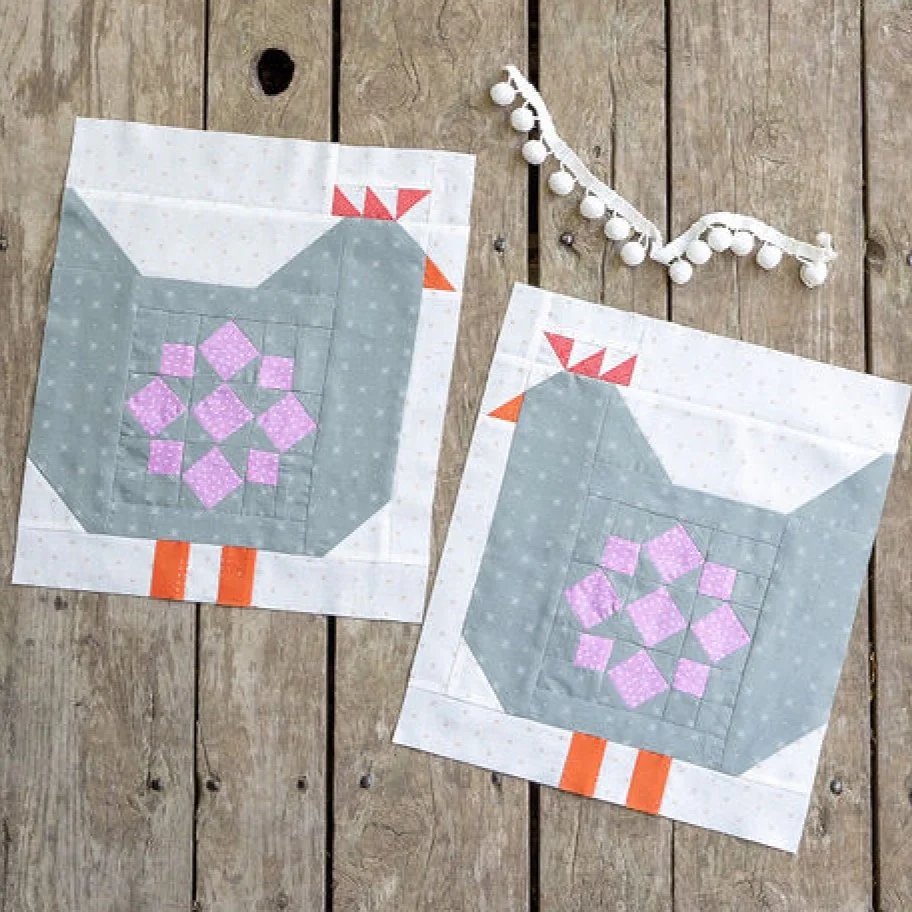
Quilty Chicks BOM: Flower 1 - Rock Garden Tutorial


Ready to make our first flower block in the Quilty Chicks Block of the Month? The Rock Garden Flower is super cute and straightforward to make. The first step is to make the leaf and stem units. I recommend making all of the stems this month so you won’t have to make two each month. Then we’ll make the flower head. Keep reading or watch the video for all the details.
How to Make Flower 1: Rock Garden Tutorial

First we’ll make the leaf and stem units.
Cut all background and leaf pieces indicated. In addition to the pieces needed for the leaves and stems, there are also cutting instructions for the background fabric needed for each flower head. Cut these background pieces, clip together by flower, and label. Then the pieces will be ready for the next flowers.
As always, double check your measurements. I didn’t and had to do a lot more work. :)
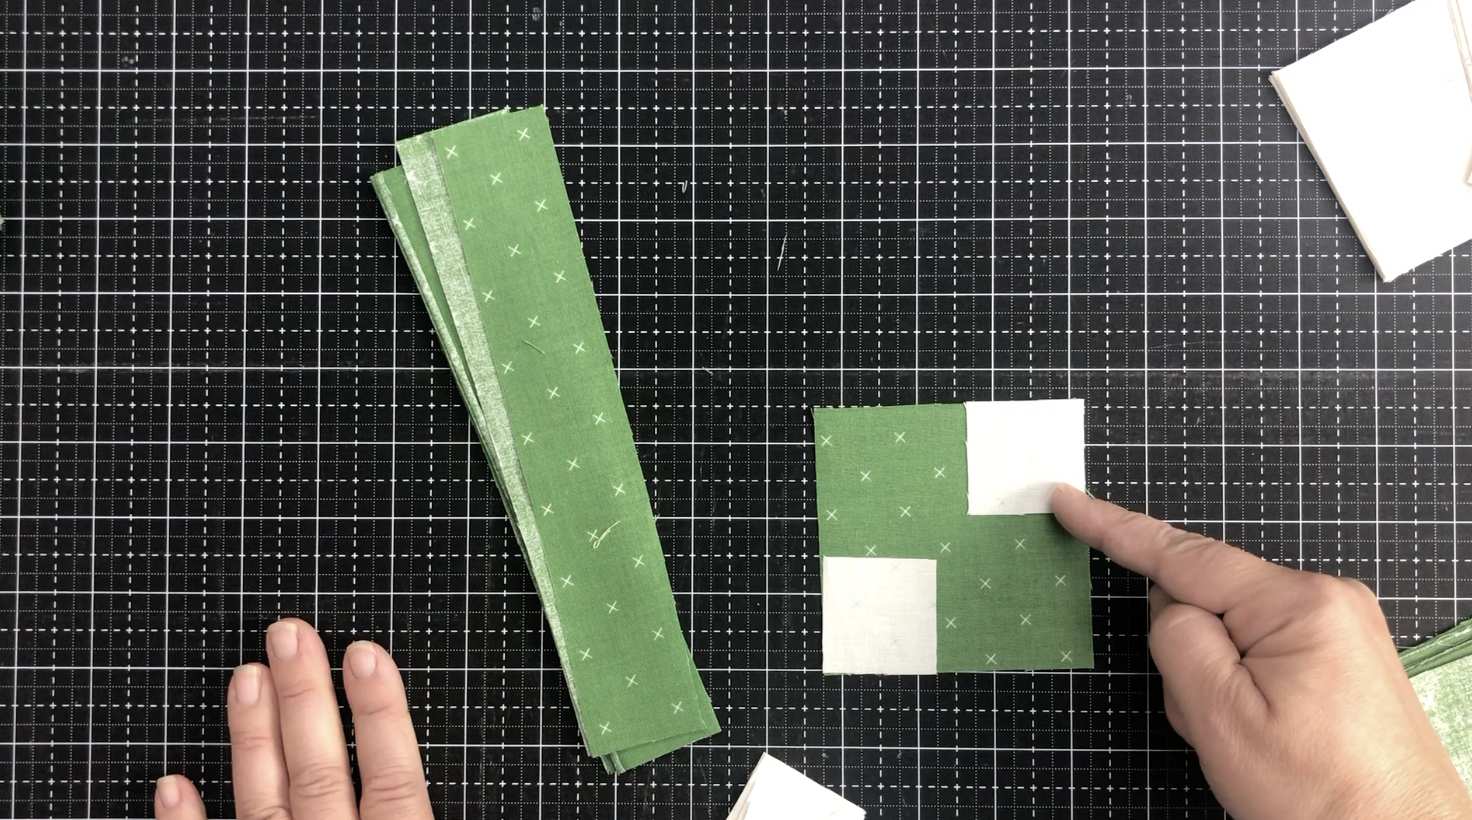
2. Place the small background squares on opposite corners of the leaf squares and sew from corner to corner. You may not have to mark the lines if you are comfortable eye-balling it.

3. Sew from corner to corner, trim corners off 1/4” from the seam, and press toward the leaf fabric.


4. Layout the leaf and background pieces as shown in the instructions. Pin the background pieces to the leaf units before heading to the sewing machine. This will help keep the leaves oriented correctly.
5. Repeat for the other set of leaves.

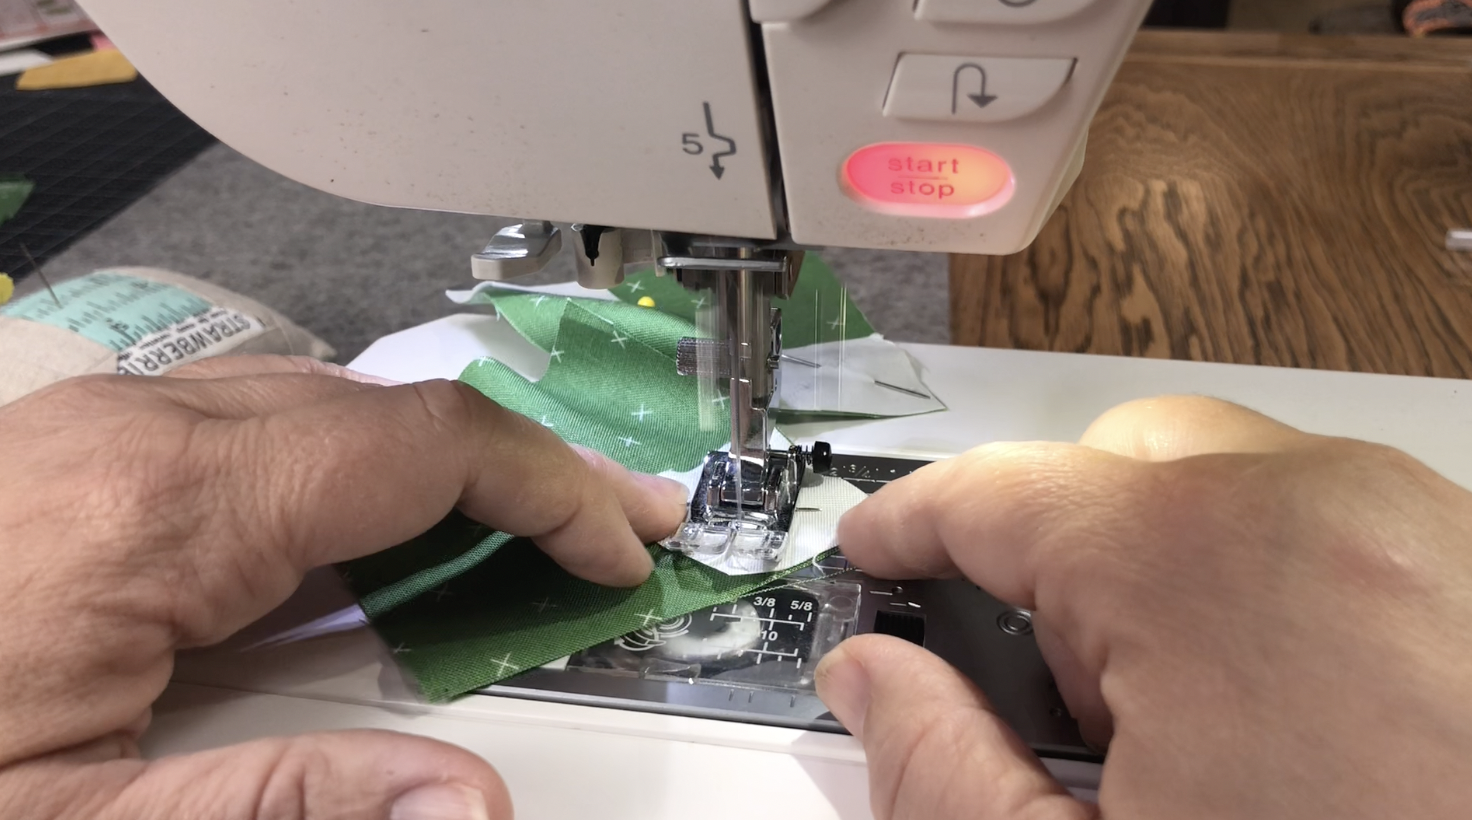
6. Next, sew the leaf units to either side of the stem piece. Double check the pieces and orientation.

7. Press well. Setting the seam will help keep the unit square.

8. Done!
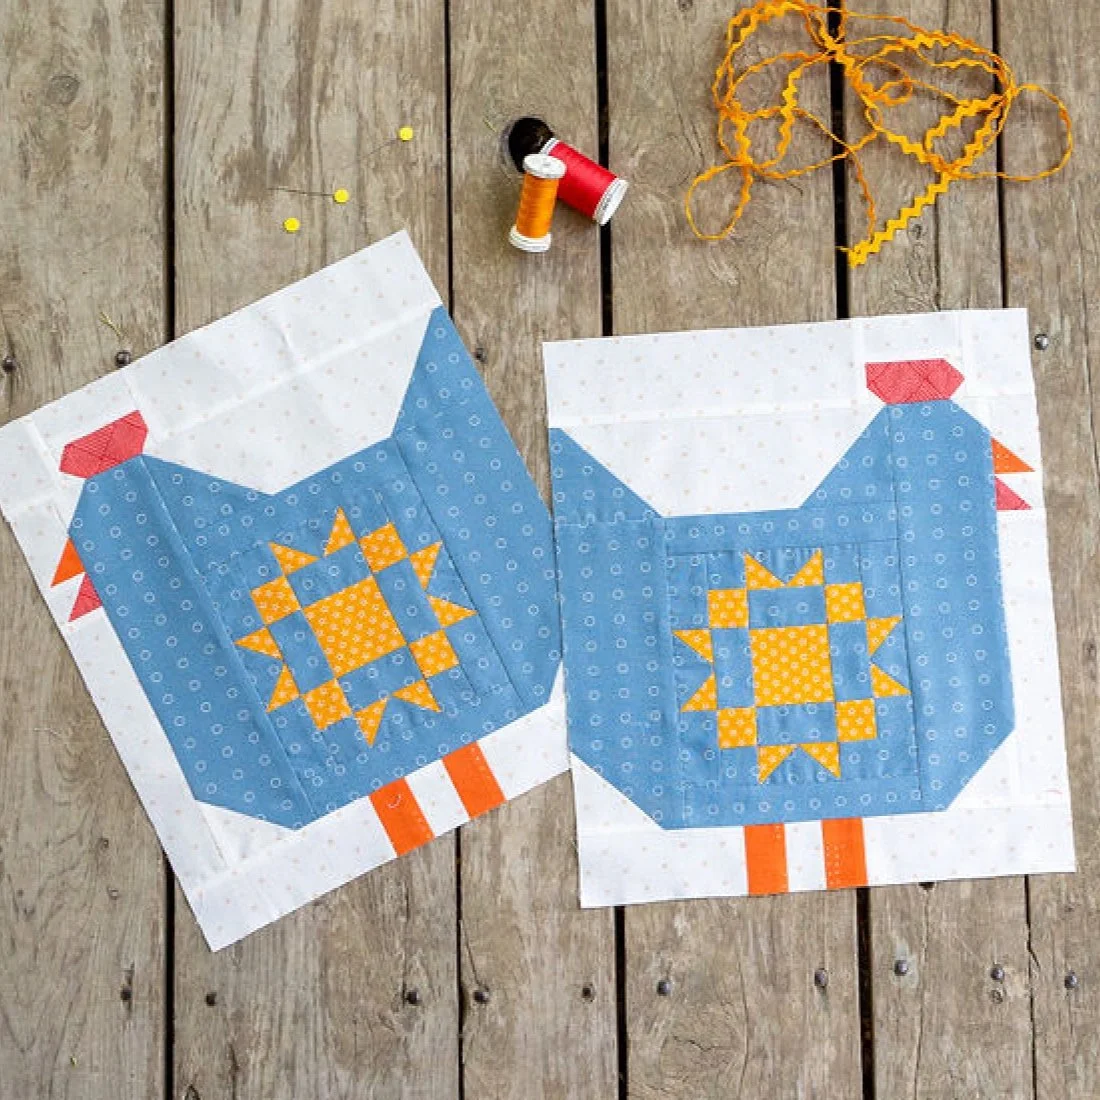
Now it’s time to make the flower head.


9. Cut all flower pieces and mark a line on the background pieces indicated. Make the half-square triangles by sewing 1/4” away from the line on both sides. Cut on the line and press toward the flower fabric.

10. Trim the half-square triangles to size. You can find a step-by-step demonstration in the video. Start watching here.

11. Sew the indicated triangles to the sides of the flower center. Make sure the triangles are centered on the square. You can check by making sure the little triangles that stick out are the same size.

12. When sewing on the second set of triangles, the triangle pieces should intersect 1/4” from the edge.

13. Sew the small flower squares together into pairs. You can speed the piecing process by prepping multiple units at a time. In this case, I prepped both the flower center and the 2-patch units before moving to the sewing machine.


14. Layout all the units as shown in the pattern. Pin the units together into rows. Sew and press.


15. Sew the rows together and press well.
16. Sew a leaf/stem unit to the bottom of each flower head.
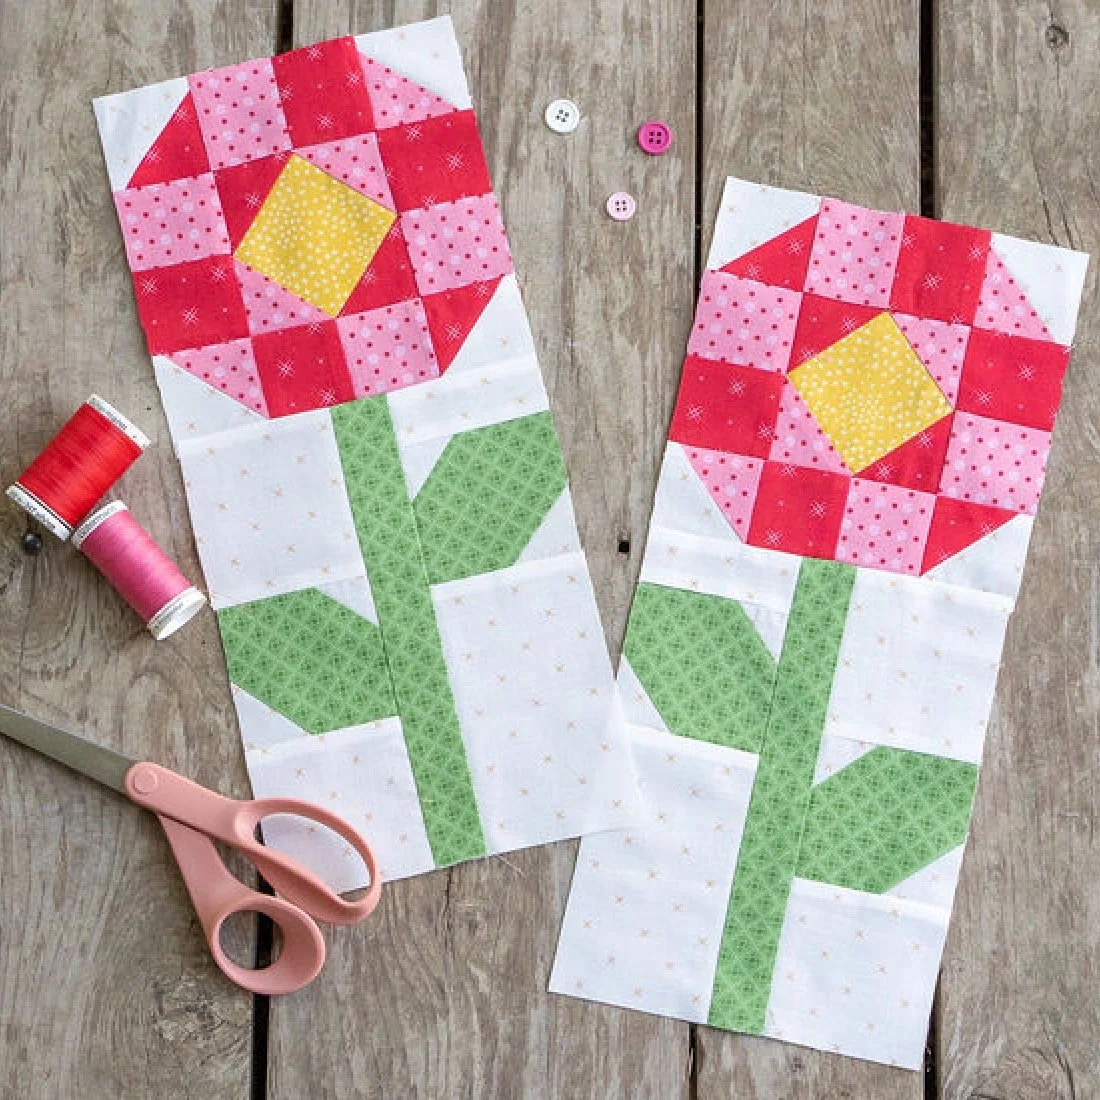
Yay! You’ve finished the first set of flower blocks!