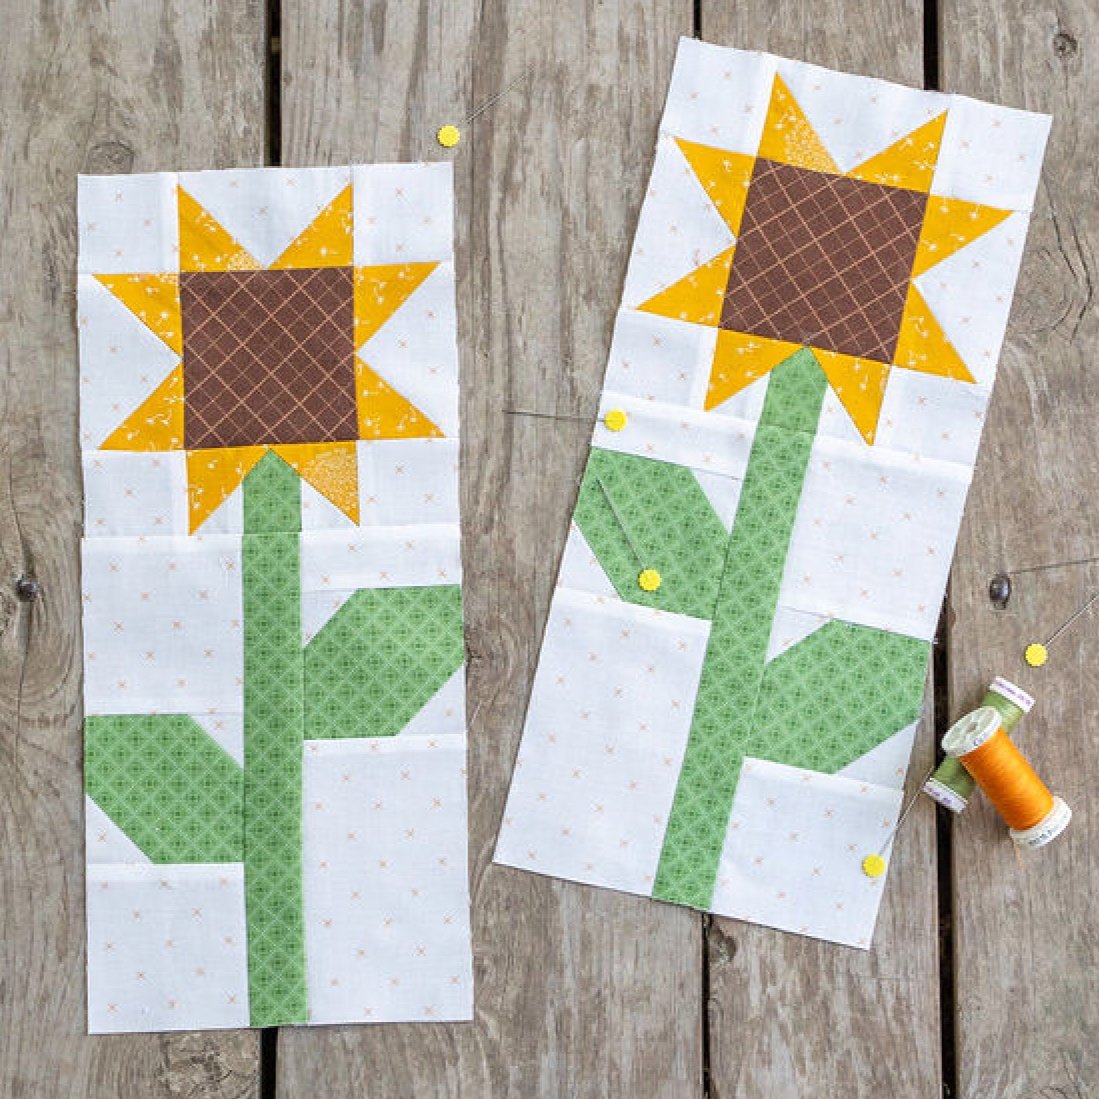
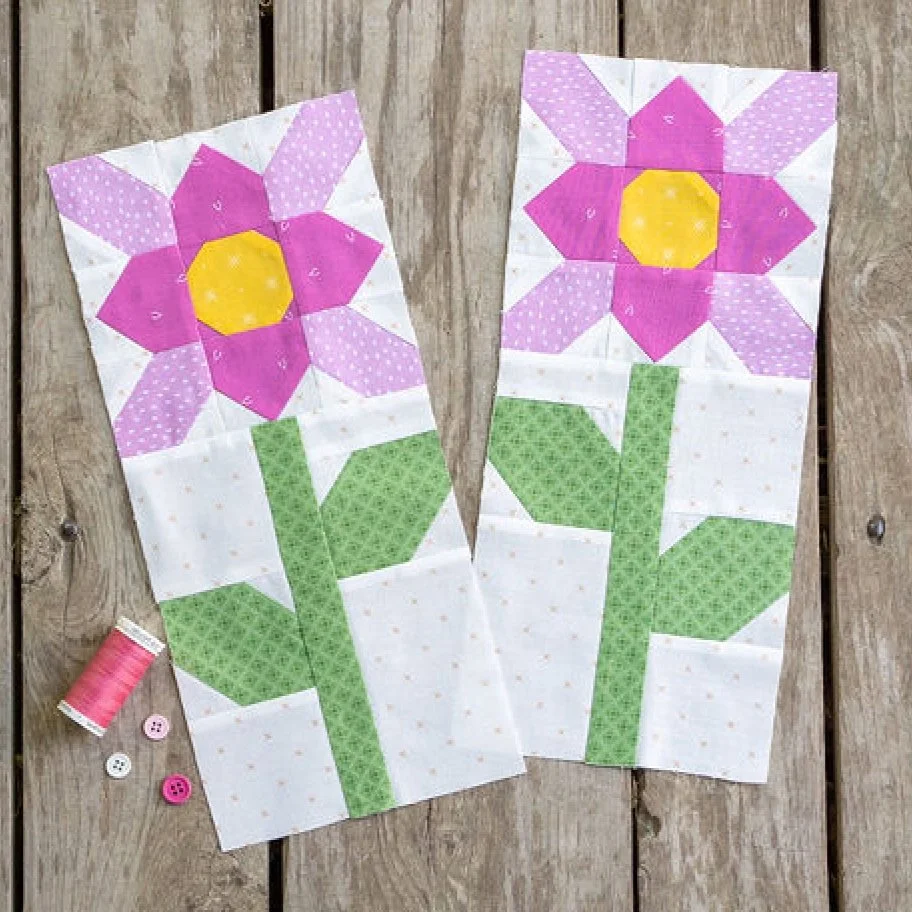
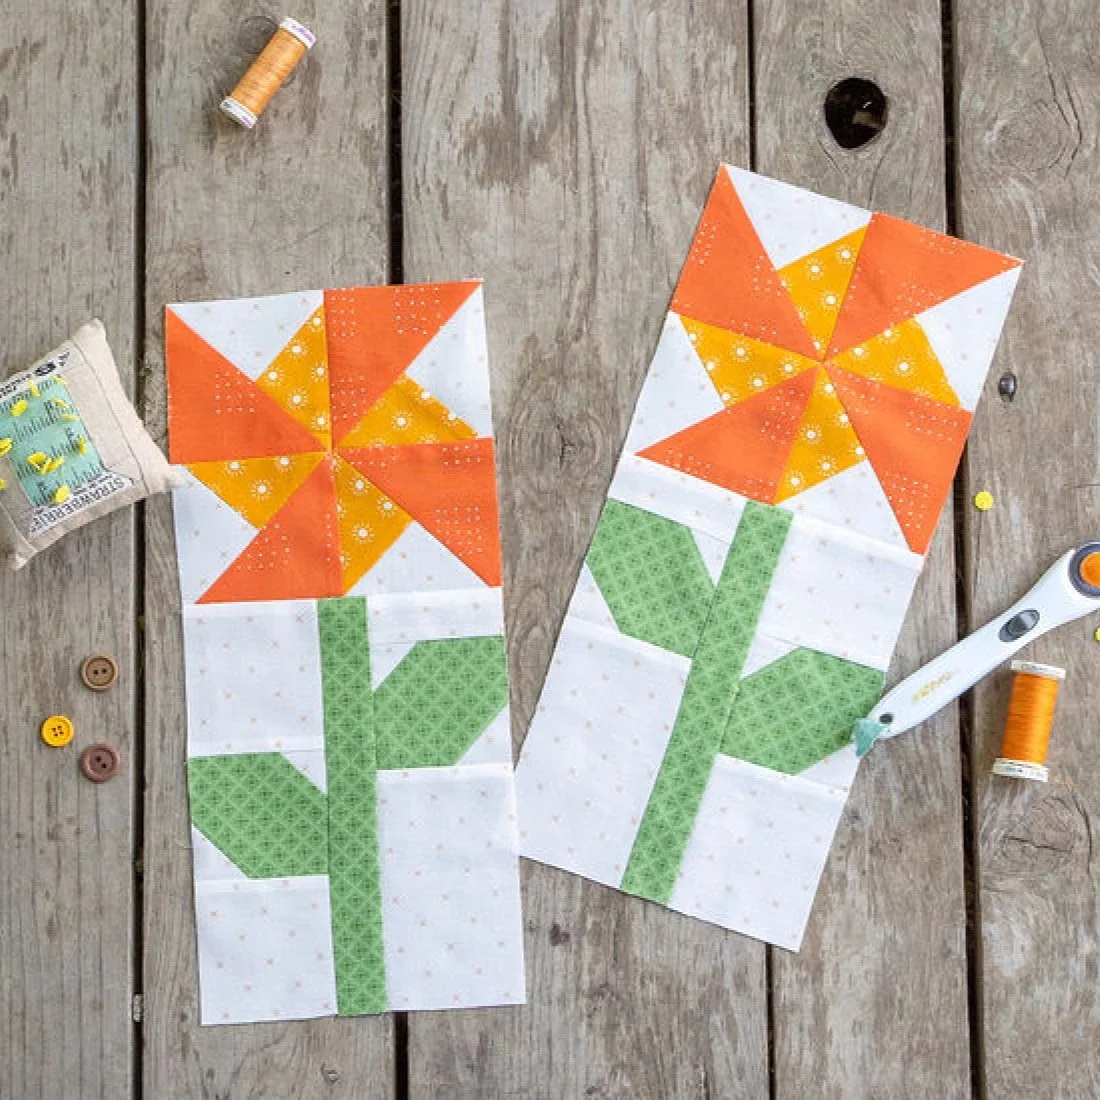
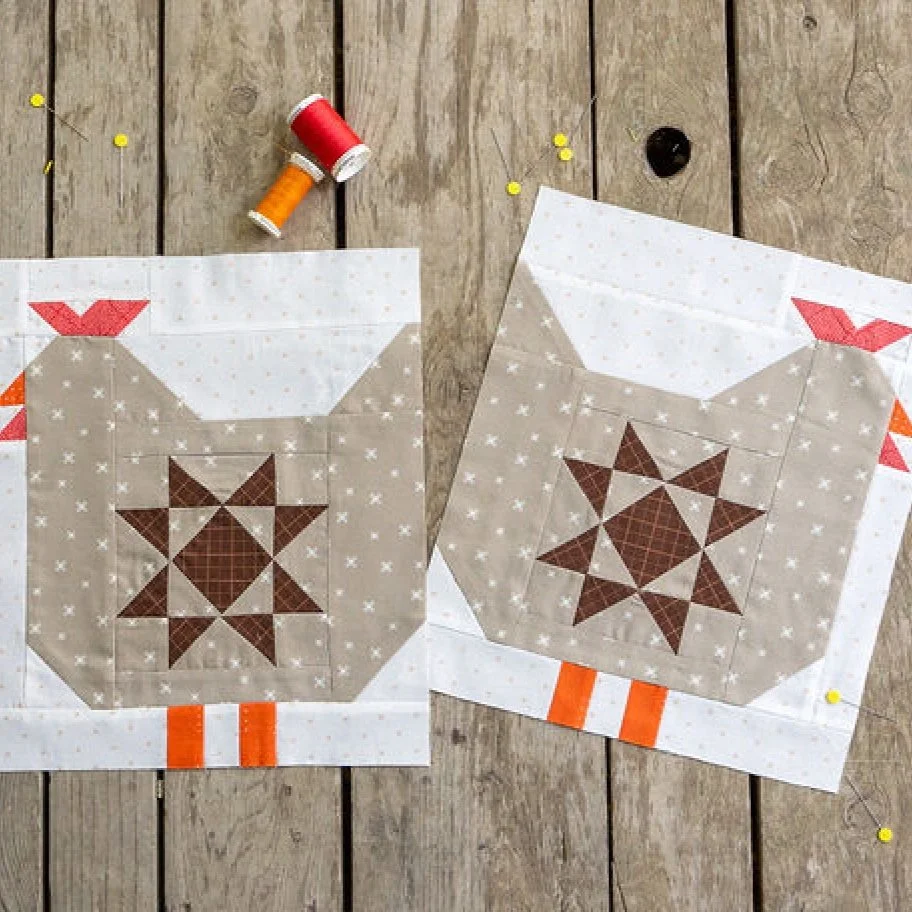
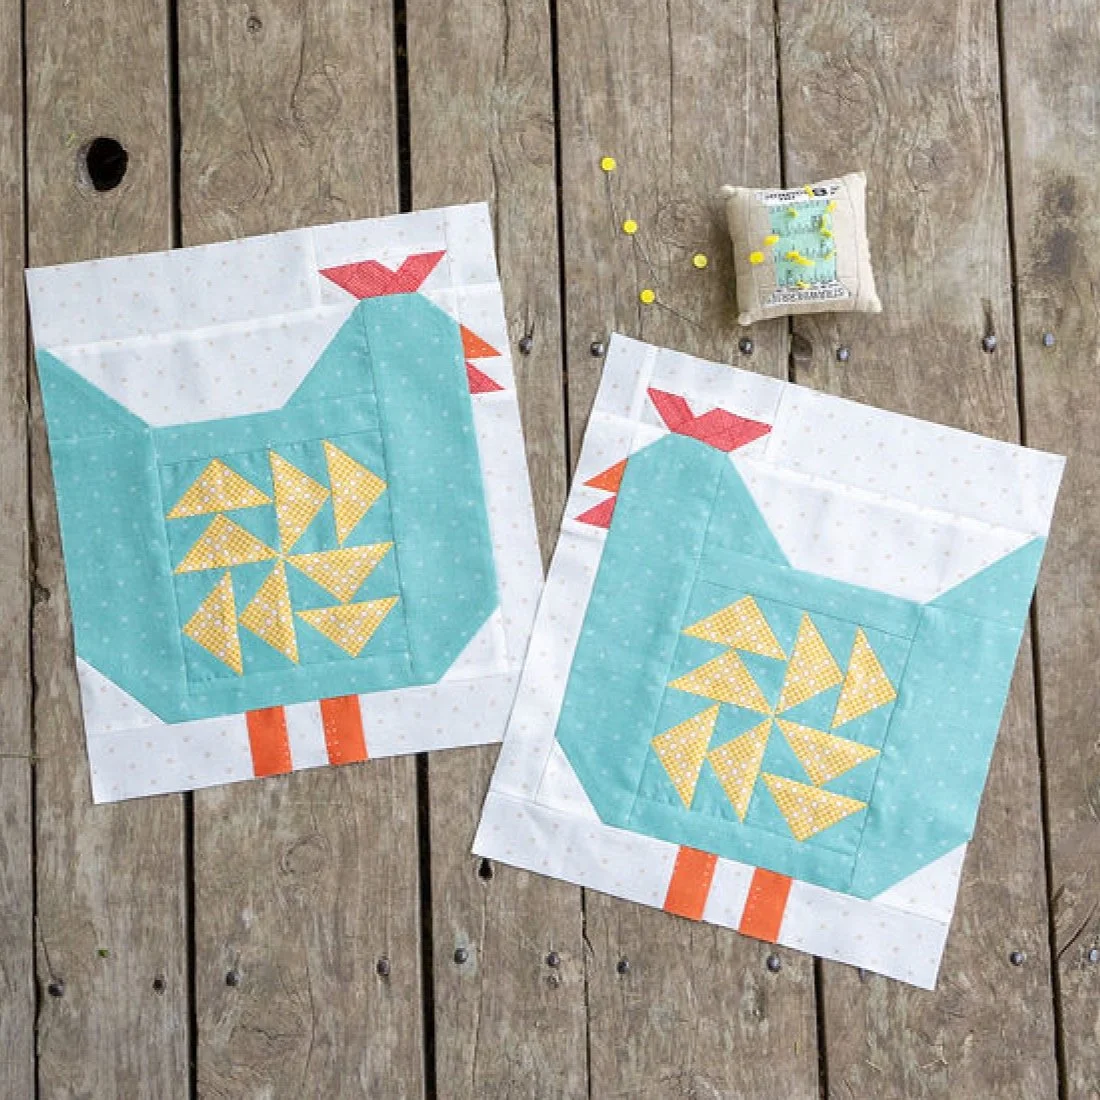
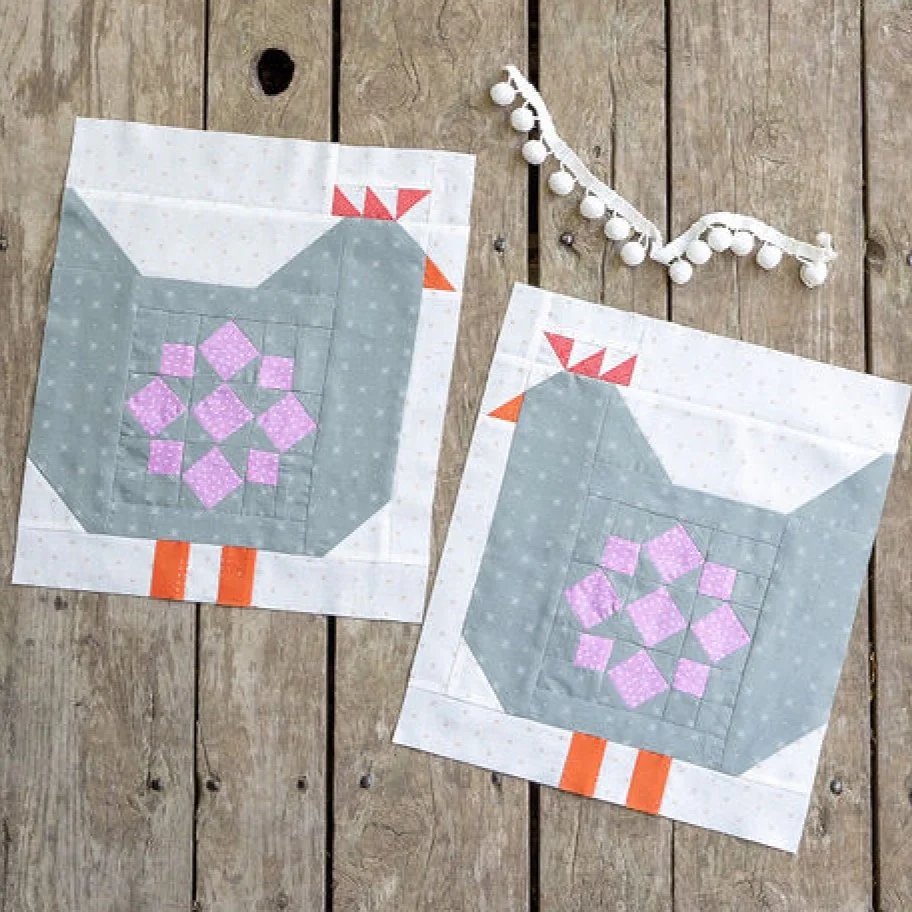
Quilty Chicks BOM: Chicken 6 - Arizona Sun Quilt Block Tutorial
Ready to make Chicken 6 in the Quilty Chicks Block of the Month? The interior quilt block might look challenging, but it comes together really quickly. Keep reading or watch the video for all the details.
How to Make the Arizona Sun Quilt Block:
Refer to the cutting instructions in the Quilty Chicks Block of the Month quilt pattern and cut the necessary pieces for the Chicken 6 - Arizona Sun Block. Refer to the pattern for exact sizes.
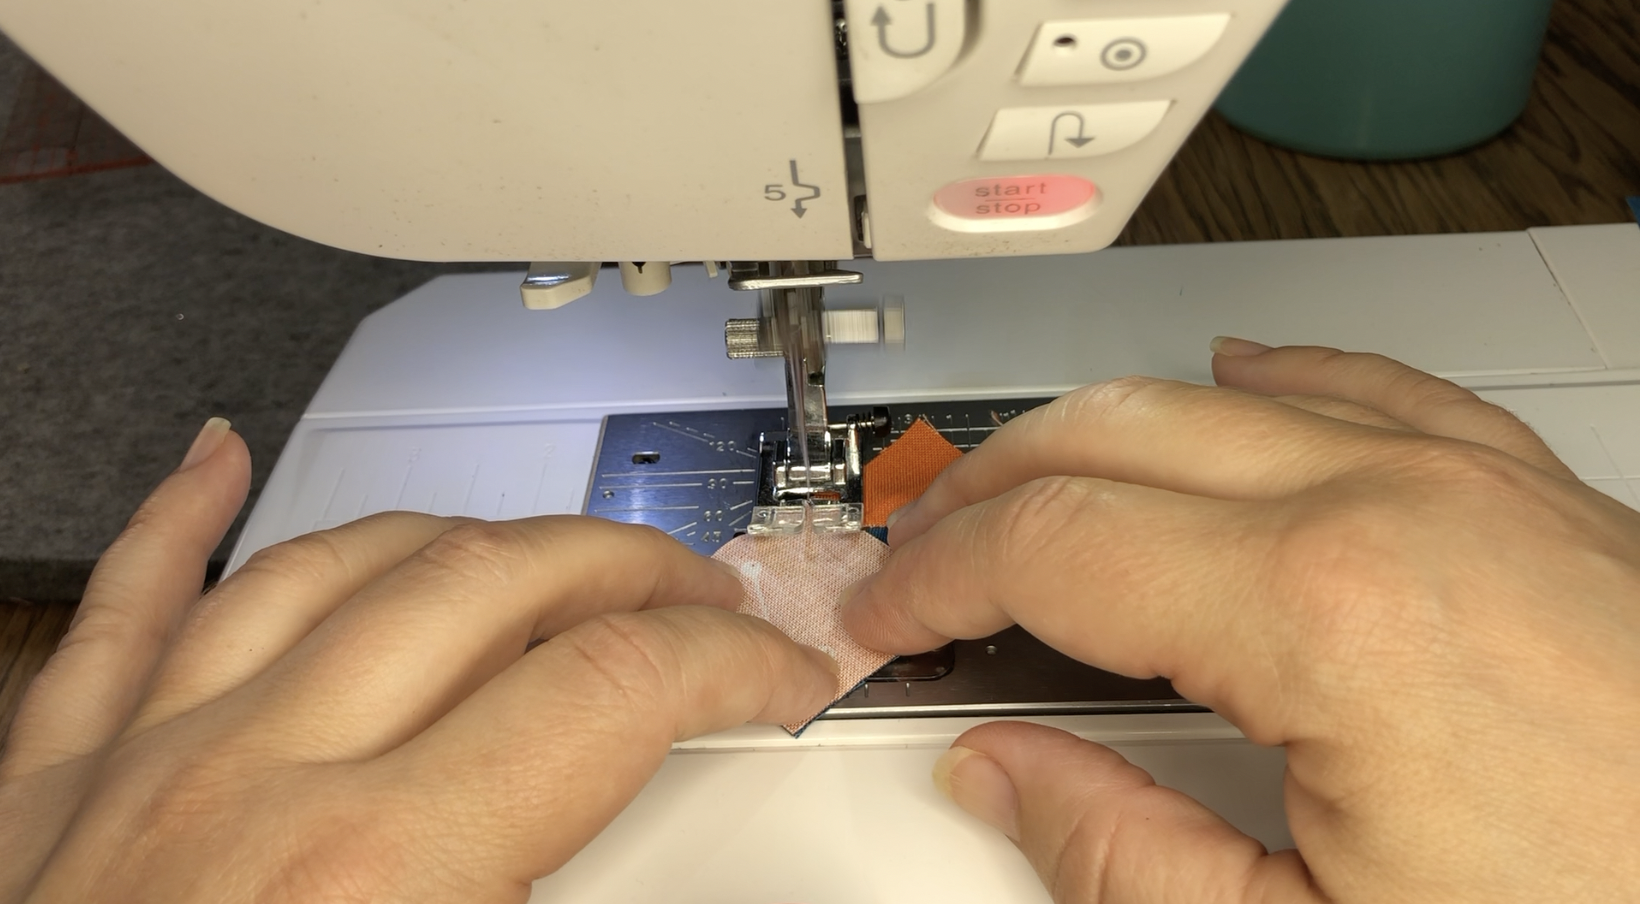
2. The first step is to draw lines from corner to corner on the smallest Quilt Block fabric squares. However, because the square is so small, you can save time, by sewing from corner to corner without marking the lines.
3. Start sewing from the corner that is on the side, not corner, of the rectangle. Keep your eye on the opposite corner and sew to it. You can also try using 1/4” tape as a guide. If it doesn’t work for you, no problem. You can mark and sew on the lines.
4. Trim off the corner and press. You can press with an iron or same some time by finger/fingernail pressing.
5. Sew the small squares to the opposite side of the rectangle. Trim off corners.
6. Sew the small squares into pairs and press all units.
7. Pair the units with chicken body rectangles, sew together, and press.
8. Lay out all block units.
9. Sew units together into rows. Nest seams to ensure matching points.
10.Sew rows together. Press well. You may want to use some water or spray starch to ‘set’ the block.
11. Use the assembly directions on page 13 of the pattern to assemble a set of right- and left-facing chickens with the Comb 3 option.
Another block done! We are well on our way! Thanks for sewing along!
